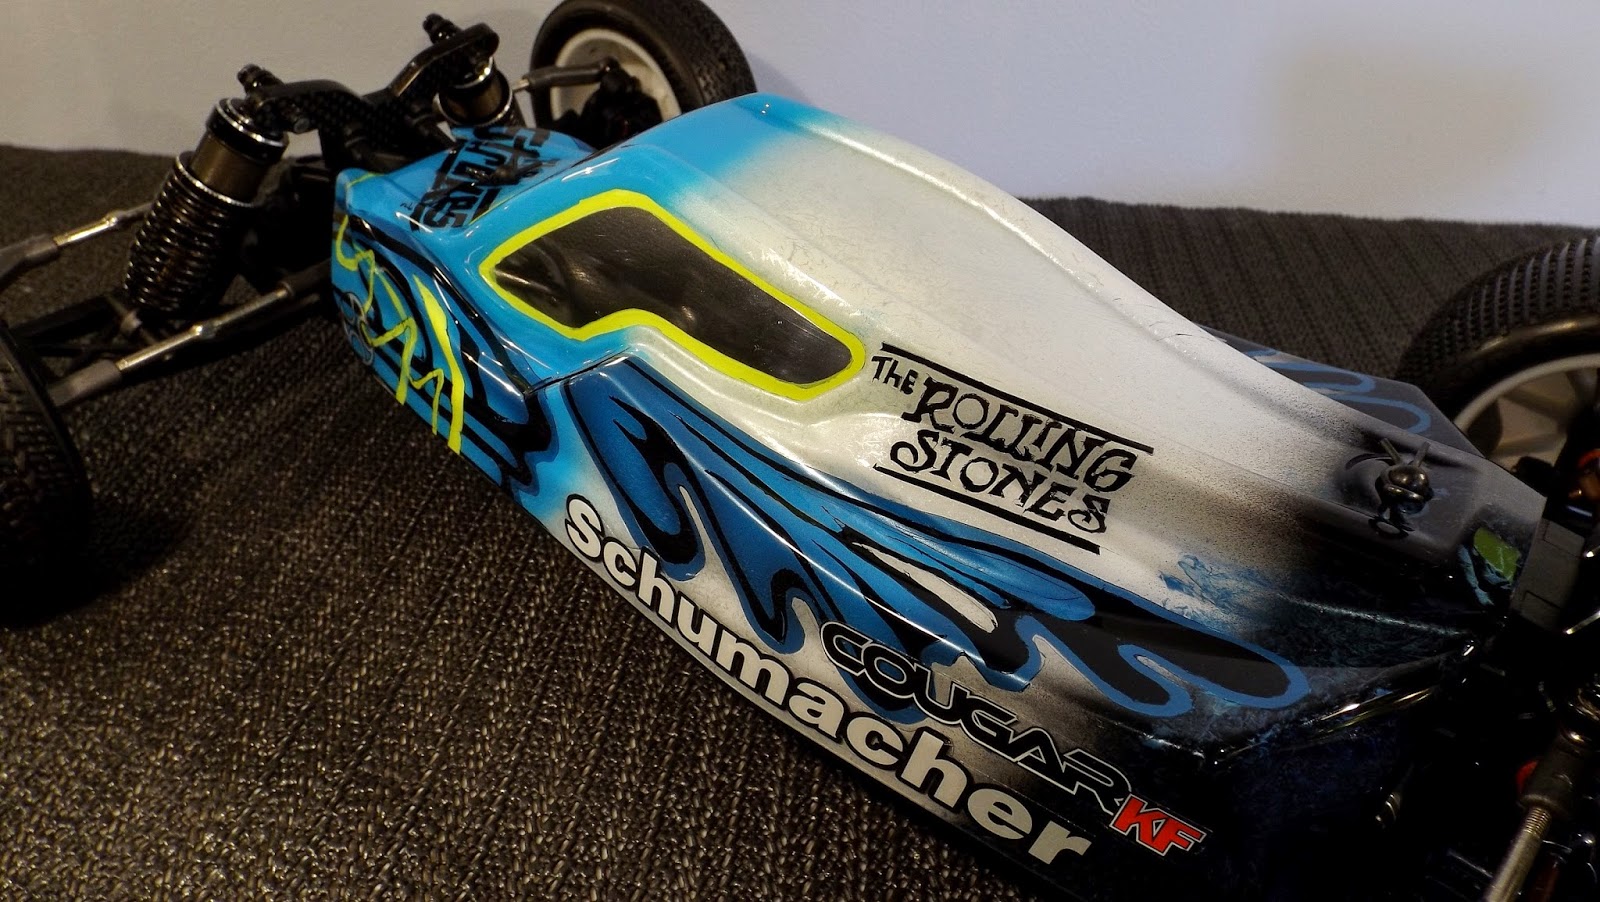
I also wanted a bit of a weathered look but due to painting on the inside the paint would never really weather so I used a bit of a blunt knife to cut all the mask and I didn't need to care that much when doing it so it went easier.
Showing posts with label KFD. Show all posts
Friday, 20 March 2015
Time for a new look
Proper Low Grip/KF2 body done up in my BAR 01 style with a bit of a twist.
I also wanted a bit of a weathered look but due to painting on the inside the paint would never really weather so I used a bit of a blunt knife to cut all the mask and I didn't need to care that much when doing it so it went easier.
Also minor wiring change due to the cab and side vents being a bit different to the old body.
I also wanted a bit of a weathered look but due to painting on the inside the paint would never really weather so I used a bit of a blunt knife to cut all the mask and I didn't need to care that much when doing it so it went easier.
Monday, 23 February 2015
KFD Update
A new wiring layout to get a bit more weight on the rear axle, finding it hard to put any power down so a couple set up changes have been made. Weight in the way of ESC and RX placement also Ti screws that helped to remove around 60 grams, thicker front oil etc but most importantly. 5 degree front hubs, I'm sure these will make the car much more driveable though I'm yet to test.
The sliver Ti screws look rather nice too while helping remove weight.
Then the 5 degree front C hubs from an SV2.
Monday, 2 February 2015
The two meet and the first few drives.
Indoor carpet KF, meet dirt KF.
First test day at the local track. Drove okay actually, lots of set up work to get it decent but it got to a rather smooth very drive-able state.
Sunday was the first club day of the season and my first race meet with the dirt KF. A few set up changes from the test day helped a lot. Mostly softer rear springs, oil changes etc. Nothing changed on the front end just yet.
Over-all it was a great first day out with the car, I ended up 5th over-all out of 10 so perfectly mid pack. I'm roughly 2 seconds off lead pace though so I'll need to work on that, both the car and the driver.
Tuesday, 27 January 2015
The Schumacher KF Dirt build
All the parts ready for a couple days for work.
Step 1 is the motor mount and gear box.
As I plan to run this as a dirt car I had to put the low grip chassis on it.
After some wet sanding and CA glue the edge was a perfect smooth gloss.
Step 2 was the upper lay shaft.
Then the slipper set up on the lower/main layshaft. Also threw on a 71 tooth spur.
Step 2 was the rest of the transmission.
Then it was time for the belt tensioner.
Start of the gear diff now. Also interesting note on this car next to my last KF. I would guess this being a 2014 car and my other being a 2013 as this has an update on the diff O rings and the center pully had it's fences pressed on already.
Fully built and loaded with 2000cst. Feels a bit light so I'll most likely end up nearer to 5000cst.
Also picked up the aluminum upper bulkhead to run the shocks in reverse.
Utterly beautiful when bolted together.
Rest of the plastic guards on and some carbon bits, again nicely sealed.
Toe blocks again, didn't have time to take the purple off though it will be gone soon.
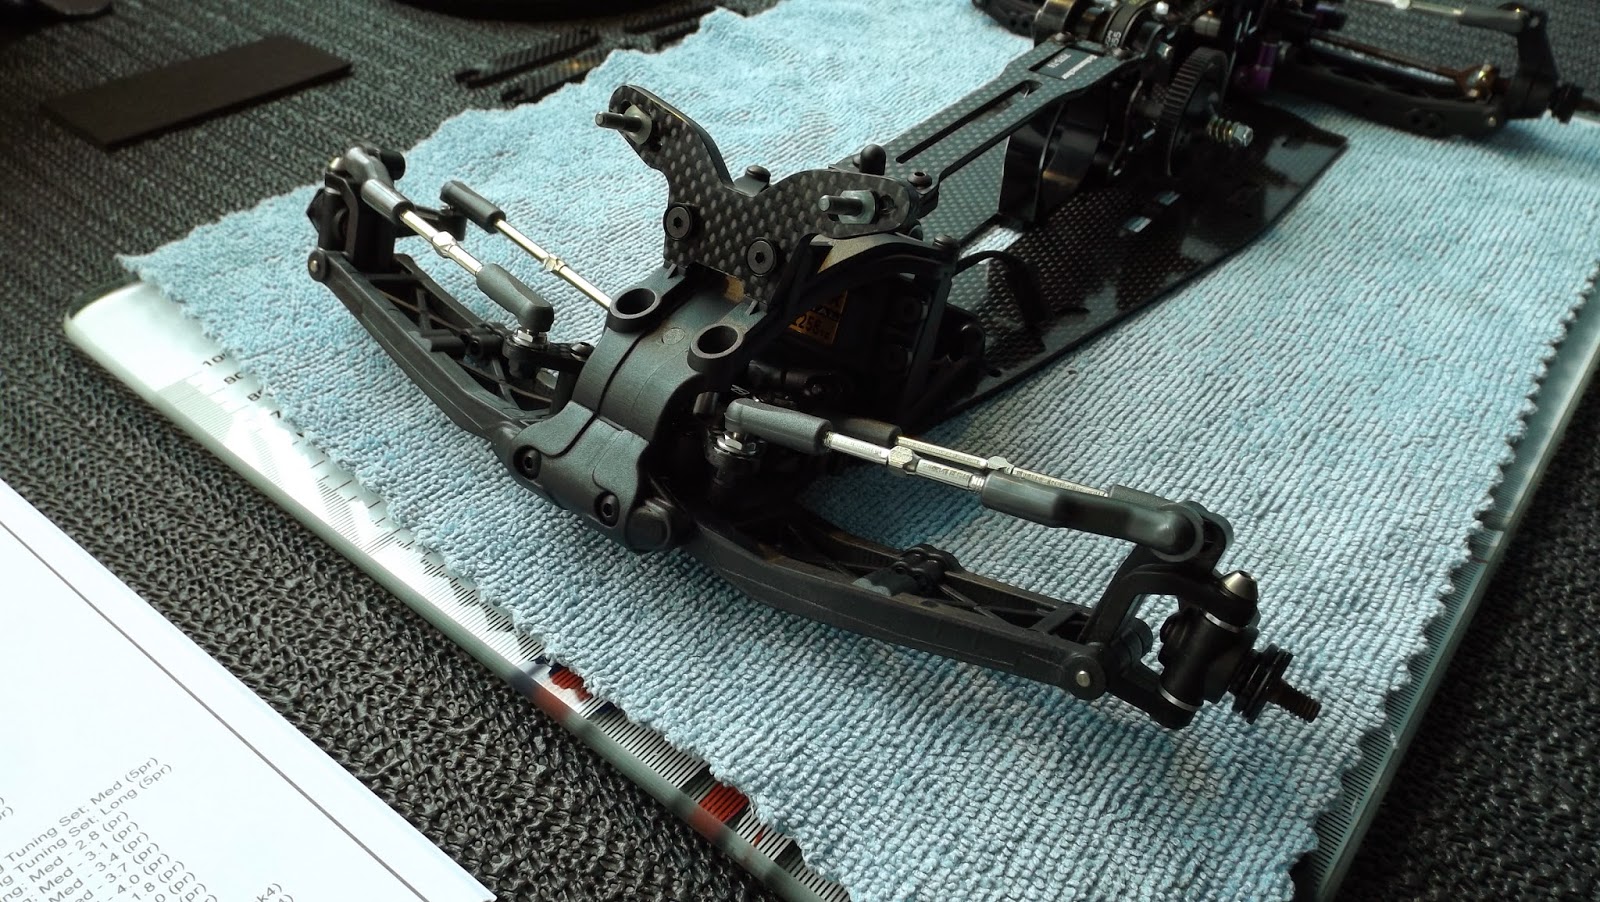
Added the upgrade steering rack.
A Savox 1258tg takes hold of steering dutys, shortened wire and black wrapped of course.
Getting there now.
Both decks on.
I replace these little plastic spacers with 1mm shims, removes some slop and has a bit of a smoother movement.
Now here's where I stop following the book so the build starts to go all over the place a bit but I find it easier to build all the shocks in one go than step by step.
Rear mount finally makes sense.
17.5t Thunder Power.
Also a new Orion R10.1
It will be interesting to see how this goes next to my old R10
After a couple more steps I was too lazy to take photos of this is where the build is for now. The rest will be getting done tomorrow and a test session will commence.
Step 1 is the motor mount and gear box.
As I plan to run this as a dirt car I had to put the low grip chassis on it.
After some wet sanding and CA glue the edge was a perfect smooth gloss.
Step 2 was the upper lay shaft.
Then the slipper set up on the lower/main layshaft. Also threw on a 71 tooth spur.
Step 2 was the rest of the transmission.
Then it was time for the belt tensioner.
Start of the gear diff now. Also interesting note on this car next to my last KF. I would guess this being a 2014 car and my other being a 2013 as this has an update on the diff O rings and the center pully had it's fences pressed on already.
Fully built and loaded with 2000cst. Feels a bit light so I'll most likely end up nearer to 5000cst.
Also picked up the aluminum upper bulkhead to run the shocks in reverse.
Utterly beautiful when bolted together.
Rest of the plastic guards on and some carbon bits, again nicely sealed.
Toe blocks again, didn't have time to take the purple off though it will be gone soon.
Added the upgrade steering rack.
A Savox 1258tg takes hold of steering dutys, shortened wire and black wrapped of course.
Getting there now.
Both decks on.
I replace these little plastic spacers with 1mm shims, removes some slop and has a bit of a smoother movement.
Now here's where I stop following the book so the build starts to go all over the place a bit but I find it easier to build all the shocks in one go than step by step.
Rear mount finally makes sense.
17.5t Thunder Power.
Also a new Orion R10.1
It will be interesting to see how this goes next to my old R10
After a couple more steps I was too lazy to take photos of this is where the build is for now. The rest will be getting done tomorrow and a test session will commence.
Subscribe to:
Posts (Atom)